Plenty of people stay with IPTV providers they are not happy with simply because switching sounds like hassle. Maybe the picture buffers every Saturday, support takes days to reply, or the price crept up. The good news is that moving between IPTV providers is usually quick, and with a little planning you will not miss a single match or episode.
This guide walks you through a seven-step switching plan used by Irish households, from checking your renewal date to cancelling the old service properly.
Key takeaways
- Switching IPTV providers rarely needs new equipment, only new login details.
- Test the new provider on your own TV before you commit.
- A short overlap of a few days means no gaps in viewing.
- Cancel the old service in writing and stop any recurring payment.
Contents:
Signs it is time to switch IPTV providers
- Buffering or freezing during live sport, week after week.
- Channels you rely on regularly missing or not loading.
- Support that is slow, vague or unavailable at weekends.
- Prices that went up without warning, or unclear renewal terms.
- A TV guide that is often empty or wrong.
If two or more of these sound familiar, and you have already ruled out your own Wi-Fi with our Fire Stick buffering fixes, it is probably time to move.
The 7-step plan for switching IPTV providers
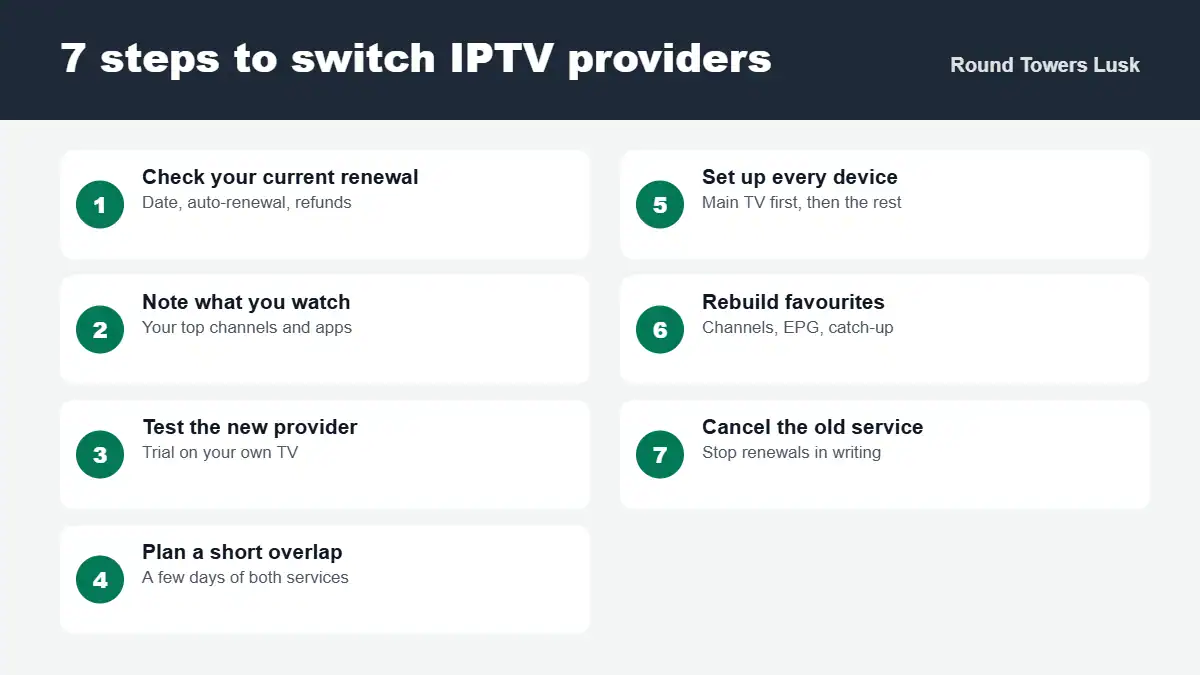
Step 1: Check your current renewal
Find out when your current plan ends, whether it renews automatically and what the refund terms say. This tells you how much time you have and whether you need to act before a renewal date.
Step 2: Write down what you actually watch
List the ten or fifteen channels you use most, the apps you rely on and any catch-up or on-demand features you would miss. This becomes your checklist for the new service.
Step 3: Test the new provider on your own TV
Use a free trial on the TV you watch most. Check every channel on your list, try a live event at a busy time and send support a question to see how fast they reply.
Step 4: Plan a short overlap
Start the new plan a few days before the old one ends. A short overlap costs very little and means you never lose a match or a favourite programme.
Step 5: Set up every device
Start with the main TV, then move on to bedrooms, phones and tablets. Most IPTV apps let you add a second account, so the new provider can sit alongside the old one for a few days.
Step 6: Rebuild your favourites
Recreate your favourites list, check the TV guide is loading and set up any parental controls. Ten minutes here saves a lot of scrolling later.
Step 7: Cancel the old service properly
Stop any recurring payment with your bank or payment provider and ask the old provider to confirm cancellation in writing.
Old vs new provider checklist
Fill this in during your trial so the decision is based on evidence.
| Check | Old provider | New provider |
|---|---|---|
| Stable during a live match at peak time | ||
| All my top channels load quickly | ||
| TV guide accurate for the week | ||
| Support replied within a few hours | ||
| Clear euro pricing and written terms | ||
| Works on every device in the house |
For a deeper look at how services differ behind the scenes, read how IPTV providers work. To understand renewals and refunds before you sign up, see IPTV subscription terms explained.
Our plans
| Plan | Price | Per month |
|---|---|---|
| 1 month | €12.99 | €12.99 |
| 3 months | €24.99 | €8.33 |
| 6 months | €34.99 | €5.83 |
| 12 months | €49.99 | €4.16 |
A free trial is available, so you can run steps 2 and 3 before paying anything. See our plans, read our terms and conditions and follow our guide to starting an IPTV trial.
Switching mistakes to avoid
- Letting the old plan lapse before the new one is working.
- Forgetting a recurring payment that keeps renewing.
- Only testing on a phone instead of the main TV.
- Choosing a 12-month plan before testing at a busy time.
Safe and legal viewing
Install apps only from official app stores, keep your login private and pay with a method that leaves a record. Make sure the way you watch complies with the rules that apply in Ireland.
Switching IPTV providers: frequently asked questions
How do I switch IPTV providers without a gap in service?
Test the new provider first, then buy a short plan a few days before the old one ends. Set up your main TV, check your favourite channels, then move the other devices and cancel the old renewal.
Do I need new equipment when changing IPTV providers?
Usually not. Most IPTV providers work with the same Fire Stick, Android box or Smart TV apps. You simply enter the new login details or add a new playlist in your app.
Can I keep my IPTV app when I switch providers?
Often yes. Apps such as IPTV Smarters or TiviMate can hold more than one account, so you can add the new provider alongside the old one during the overlap.
How do I stop my old IPTV subscription from renewing?
Check how you paid and whether renewal is automatic. Cancel any recurring payment with your payment provider and ask the old provider to confirm in writing.
How much does it cost to switch to your service?
Our plans start at €12.99 for one month, with 12 months at €49.99 (about €4.16 a month). A free trial is available so you can test before you switch.
The bottom line
Switching IPTV providers is easier than most people expect: check your renewal date, test the new service on your own TV, overlap for a few days, move your devices and cancel properly. Follow the seven steps and the switch takes an evening, not a weekend.
Thinking of moving to us? Message us on WhatsApp and we will help with the setup, see our plans or contact us. More guides are on our blog.